
 Final Product! See below for instructions...
 Use sheer stockings to stick leaves onto egg shells and rubber bands to create interesting patterns...
Don't forget your apron! Rubber bands can snap and cause stains!
If you blow out the eggs before dying they won't sink!
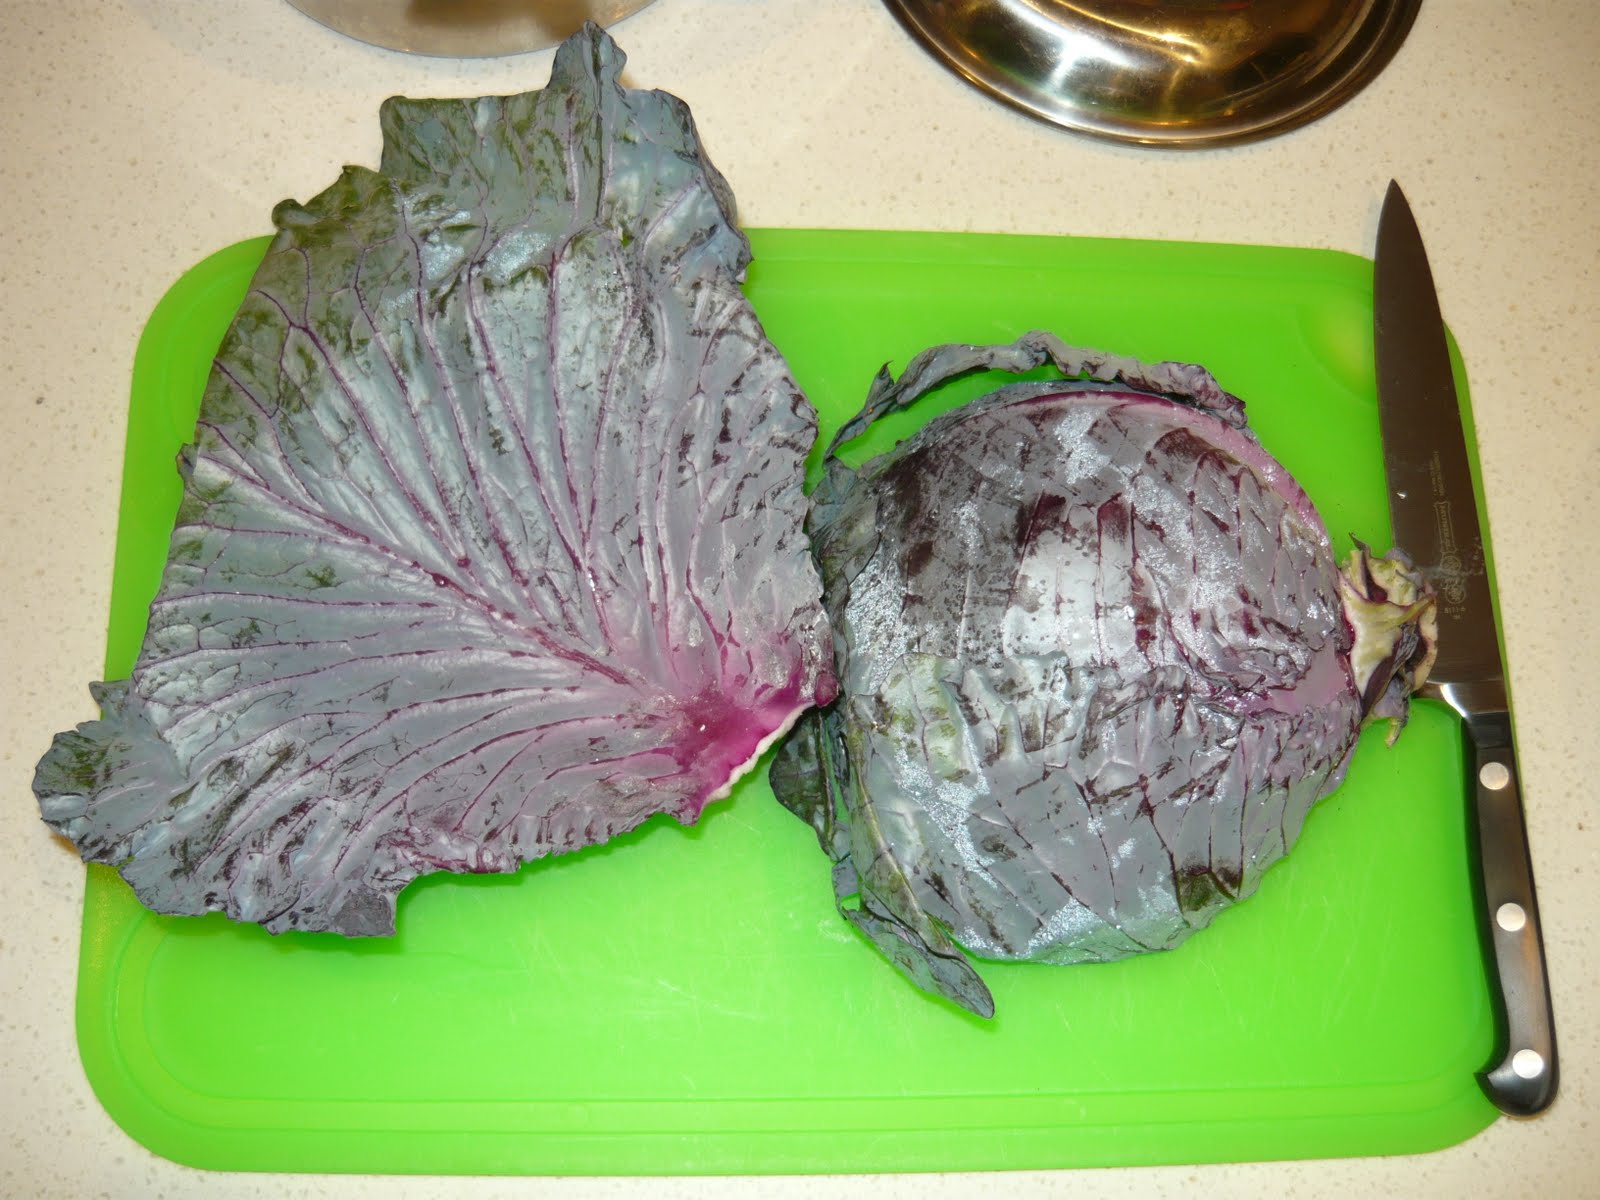
This post is a follow up from my blog the other day on natural egg dying. After a messy night, I managed to dye my eggs using 4 colours. Each colour was created from 1) Onion skins+tumeric powder 2) Coffee 3) red cabbage 4) Beetroot. To create some patters I used rubber bands, sheer stockings to stick down a leaf to some of the eggs and sediment from the chopped cabbage.
I wouldn't say the process was 100% successful. I thought I'd be cleaver and blow the eggs out before I coloured them (so we didn't have to eat boiled eggs for a week) not realising that this would prevent them from sinking into the coloured liquid! I also didn't realise that the colour would tear away from the egg if you touched the egg when it was wet. The coffee was a little weak (I used 3 coffee bags, but should have used about 5!) and the beetroot probably stained my clothes more than the eggs.
However, I had a lot of fun and look forward to using my eggs as a table display tomorrow.
Happy Easter everyone!
Kell xo
P.s. If anyone can shed some light on why I couldn't get the eggs to sink or tips on how to sink the eggs after they've been blown out, I'd love to hear your comments. Simply click the "comment" link below.
If you found this post interesting why not send it to friends!! If you would like to receive updates from Design Detective Diary please join me on Twitter or Facebook. Click Twitter or Facebook Fan Page links on the top right of this page to join.
No comments:
Post a Comment